
How to Use Google Indexing API for Better Search Console?
Google's Indexing API allows you to notify Google when pages on your website are added or removed. This speeds up the crawling and indexing process, making it an essential tool for Better Search Console users. This tutorial will guide you through setting up and using the Google Indexing API effectively.
Prerequisites
-
A Google Cloud Platform (GCP) account
-
A Google Search Console verified domain
-
An account on Better Search Console
Step 1: Enable Google Indexing API
-
Go to Google Cloud Console: Google Cloud Console
-
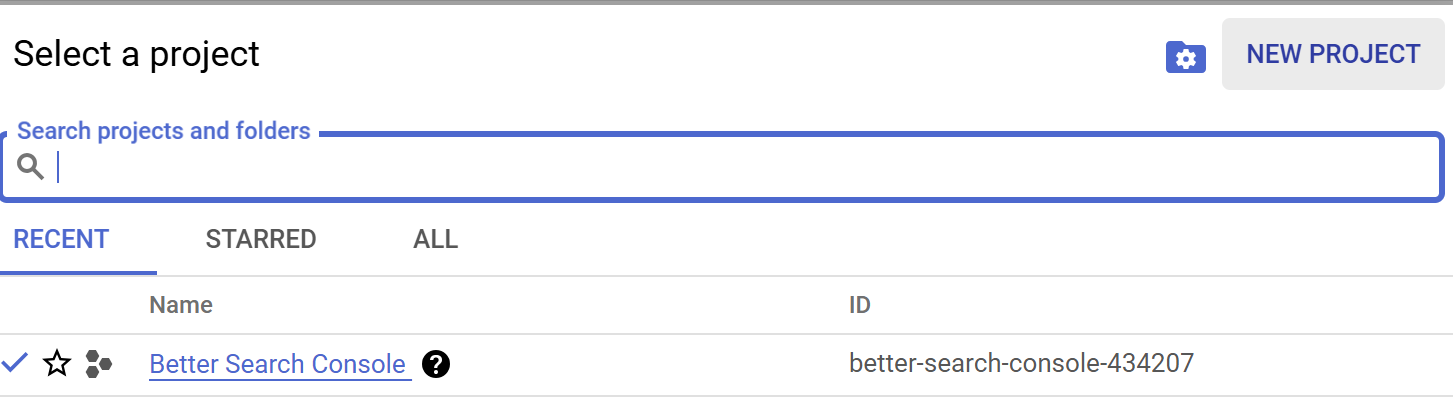
Create a New Project:
-
Click on the project dropdown
-
Select "New Project"
-
-
-
Give it a meaningful name (e.g.,
Better Search Console API) -
Click "Create"
-
-
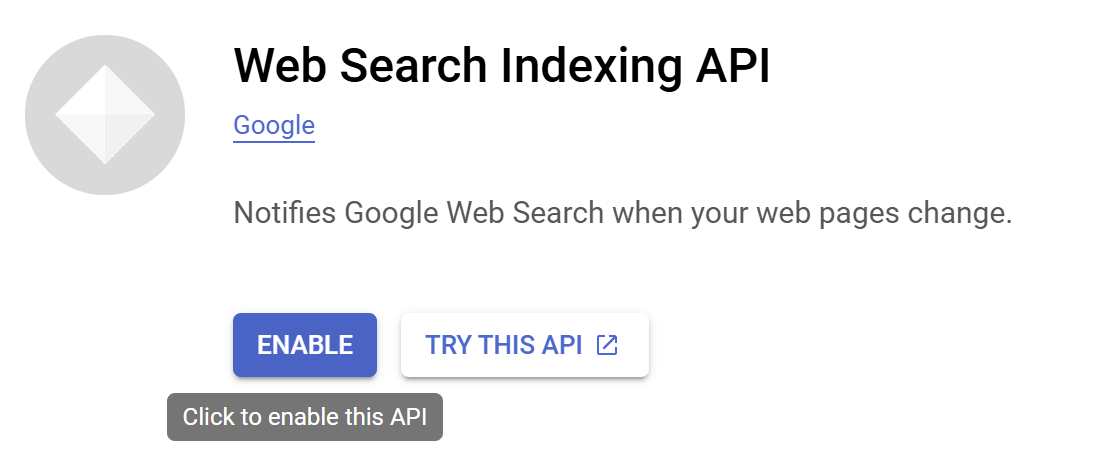
Enable the API:
-
Navigate to "APIs & Services" > "Library"
-

-
-
Search for "Indexing API"
-

-
-
Click "Enable"
-
-
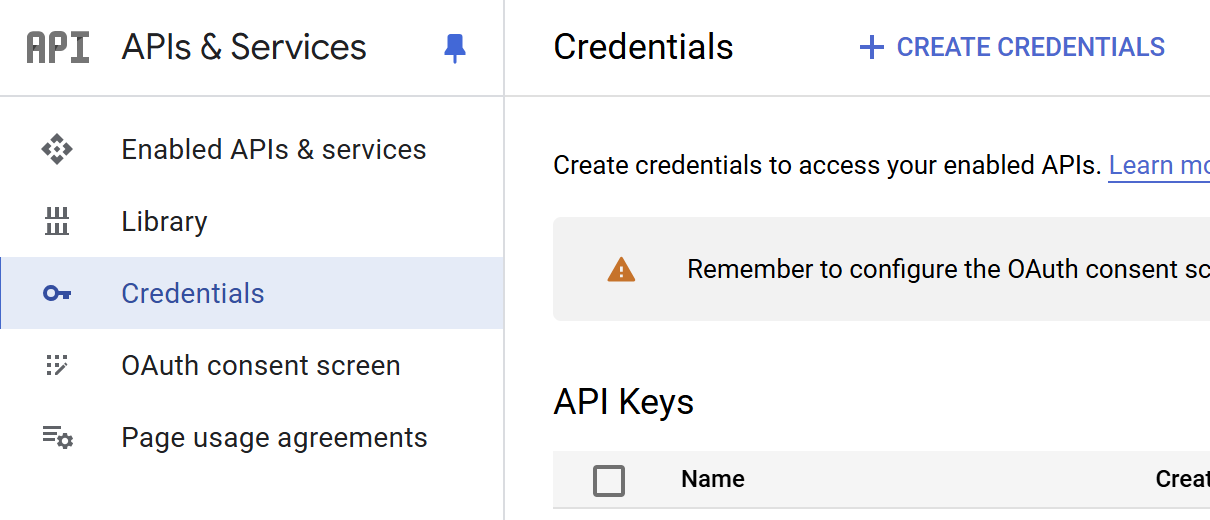
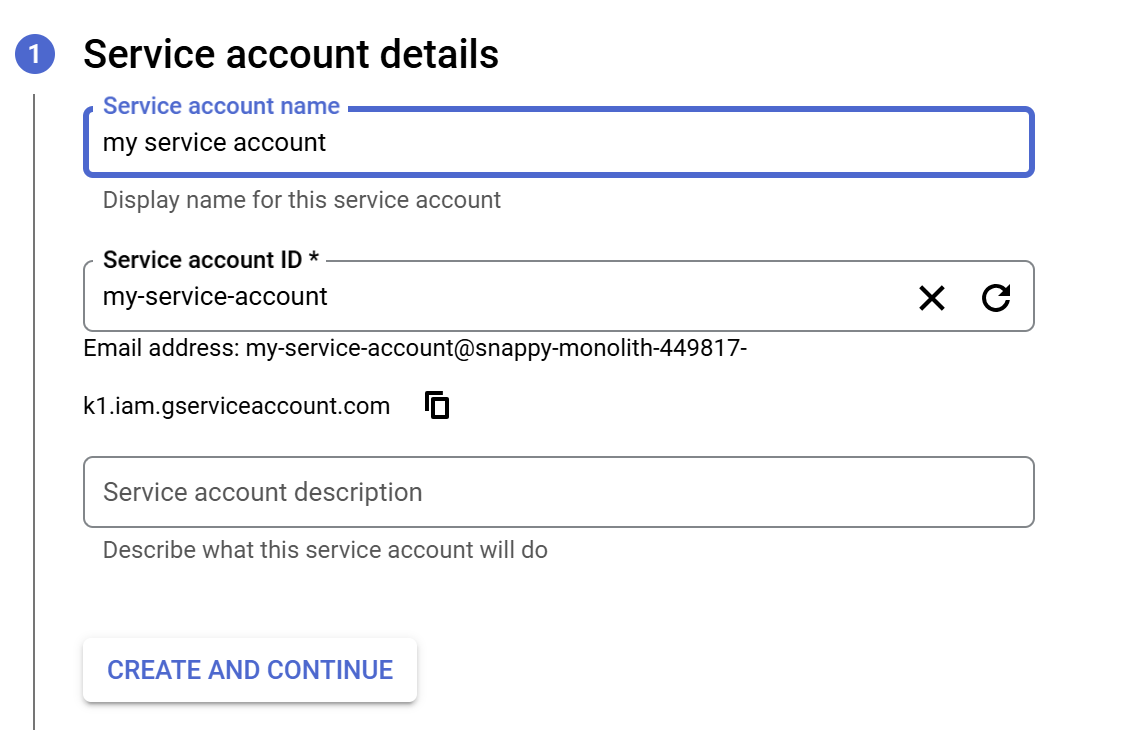
Create Service Account:
-
Go to "APIs & Services" > "Credentials"
-
-
-
Click "Create Credentials" > "Service Account"
-
Provide a name and description
-
-
-
Click "Create & Continue"
-
-
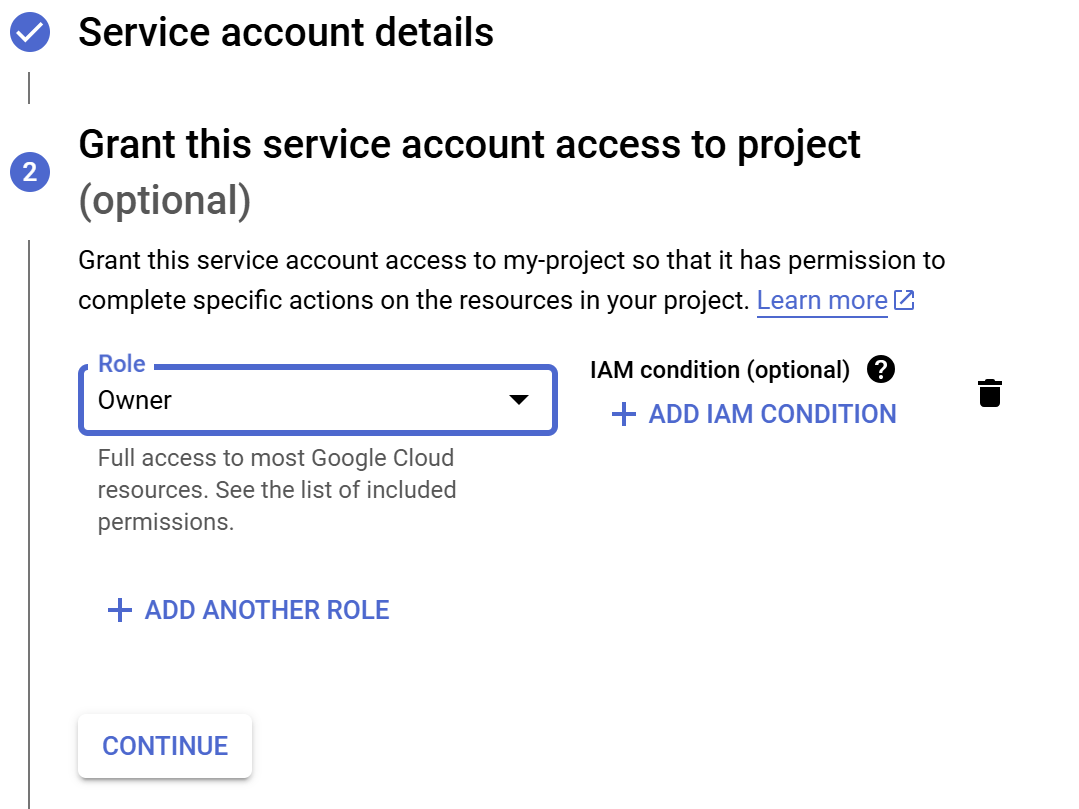
Assign Roles:
-
Choose "Owner"
-
-
-
Click "Continue"
-
Click "Done"
-
-
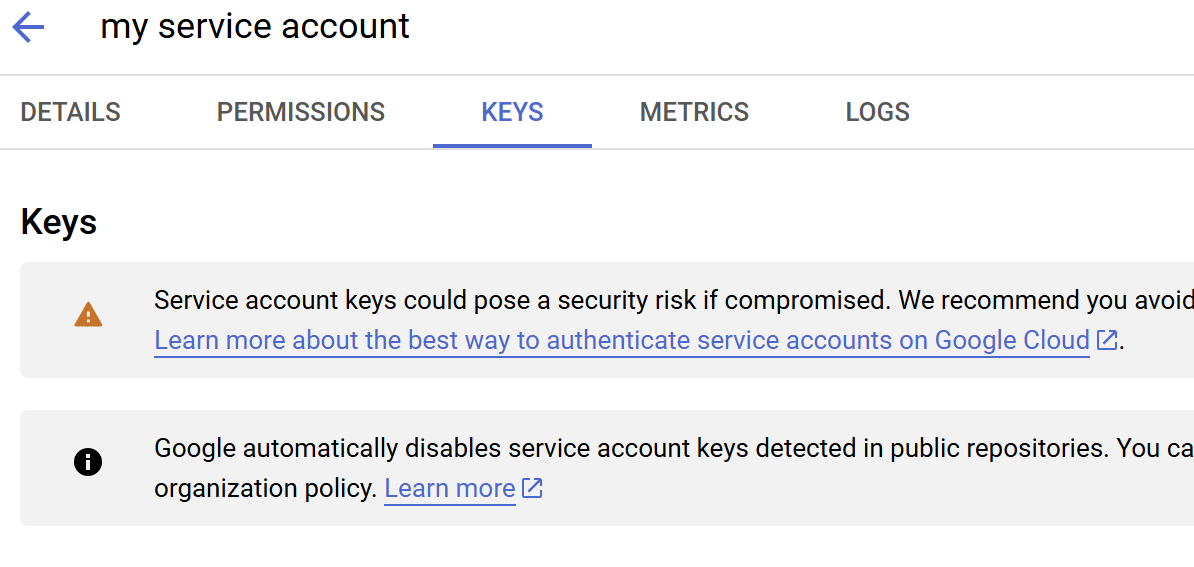
Generate a Key:
-
Click on the newly created service account
-

-
-
Navigate to the "Keys" tab
-
-
-
Click "Add Key" > "Create new key"
-
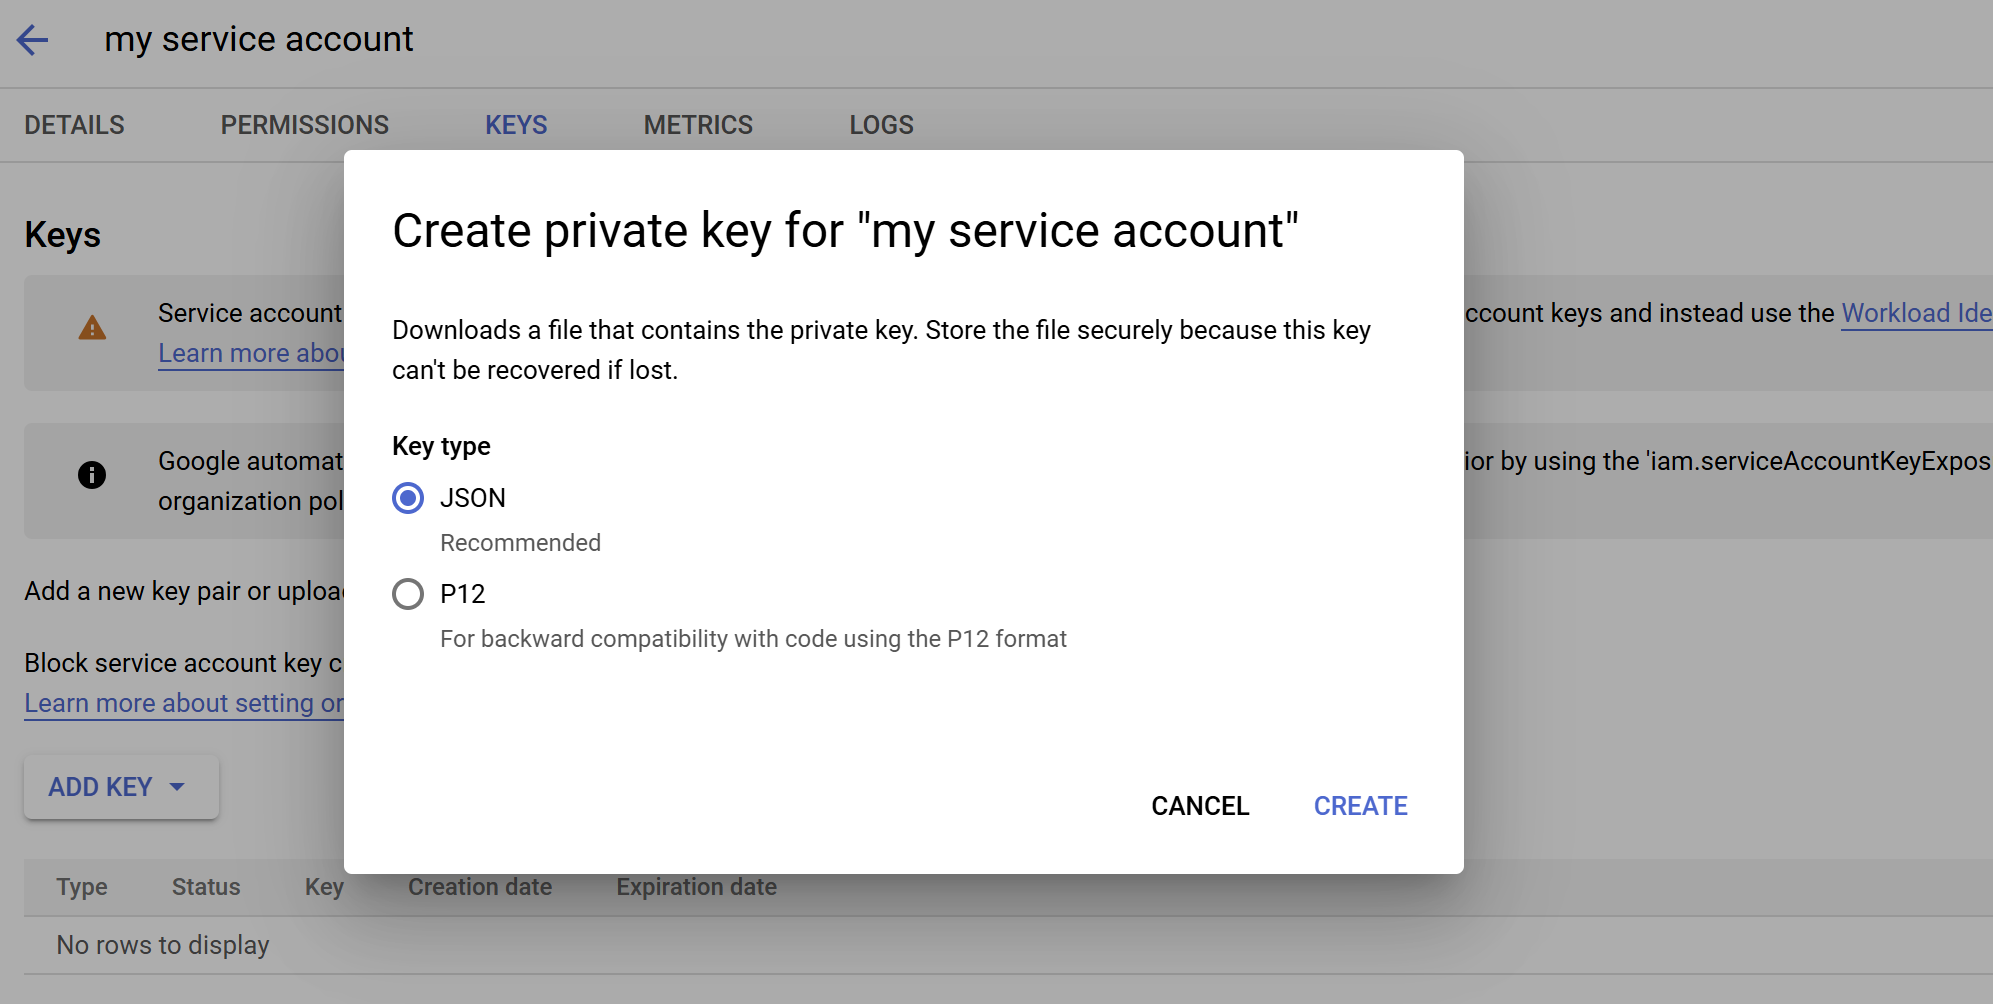
Select "JSON" and click "Create"
-
-
-
Download the key file and store it securely
-
Step 2: Add Service Account to Google Search Console
-
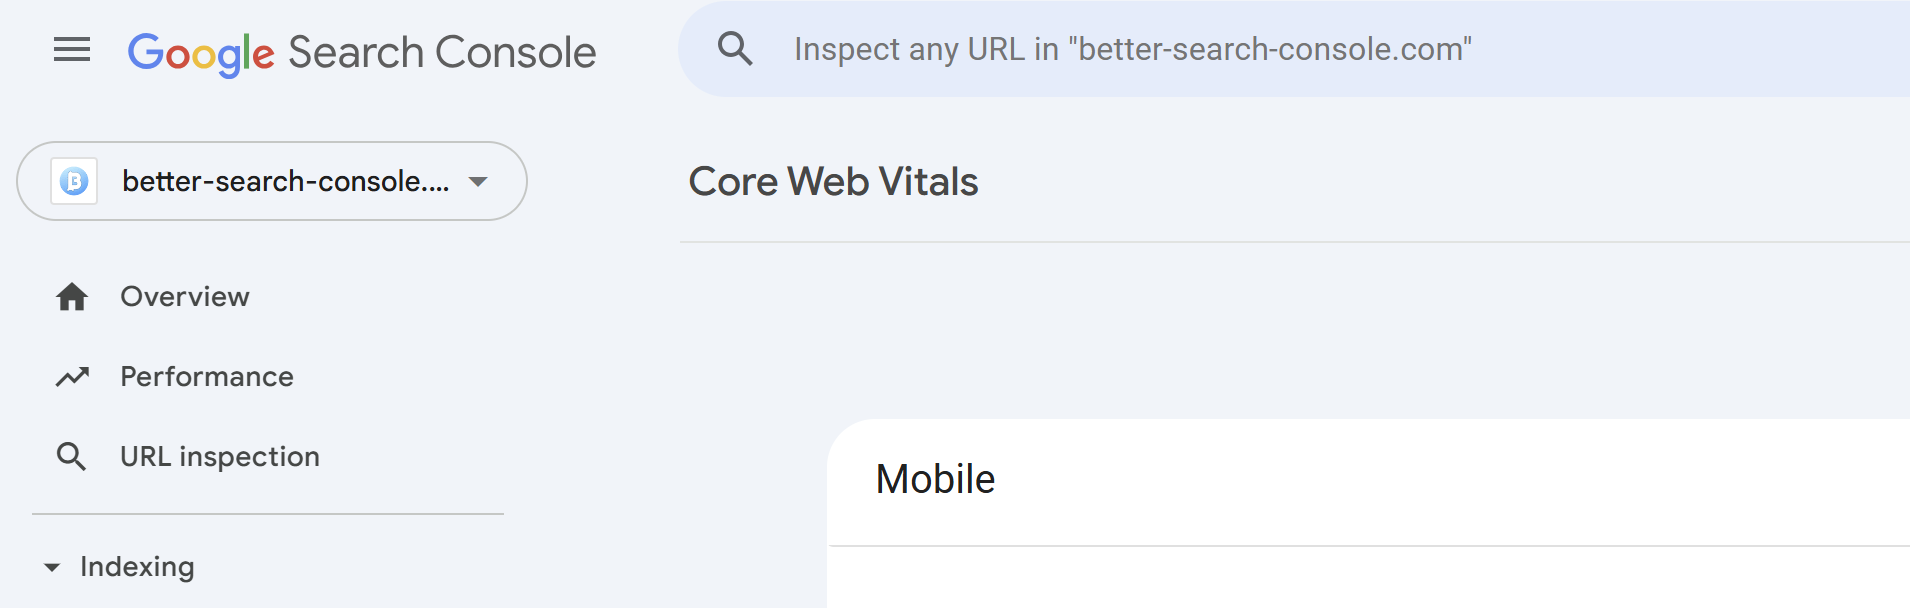
Go to Google Search Console
-
Select your property (domain)
-
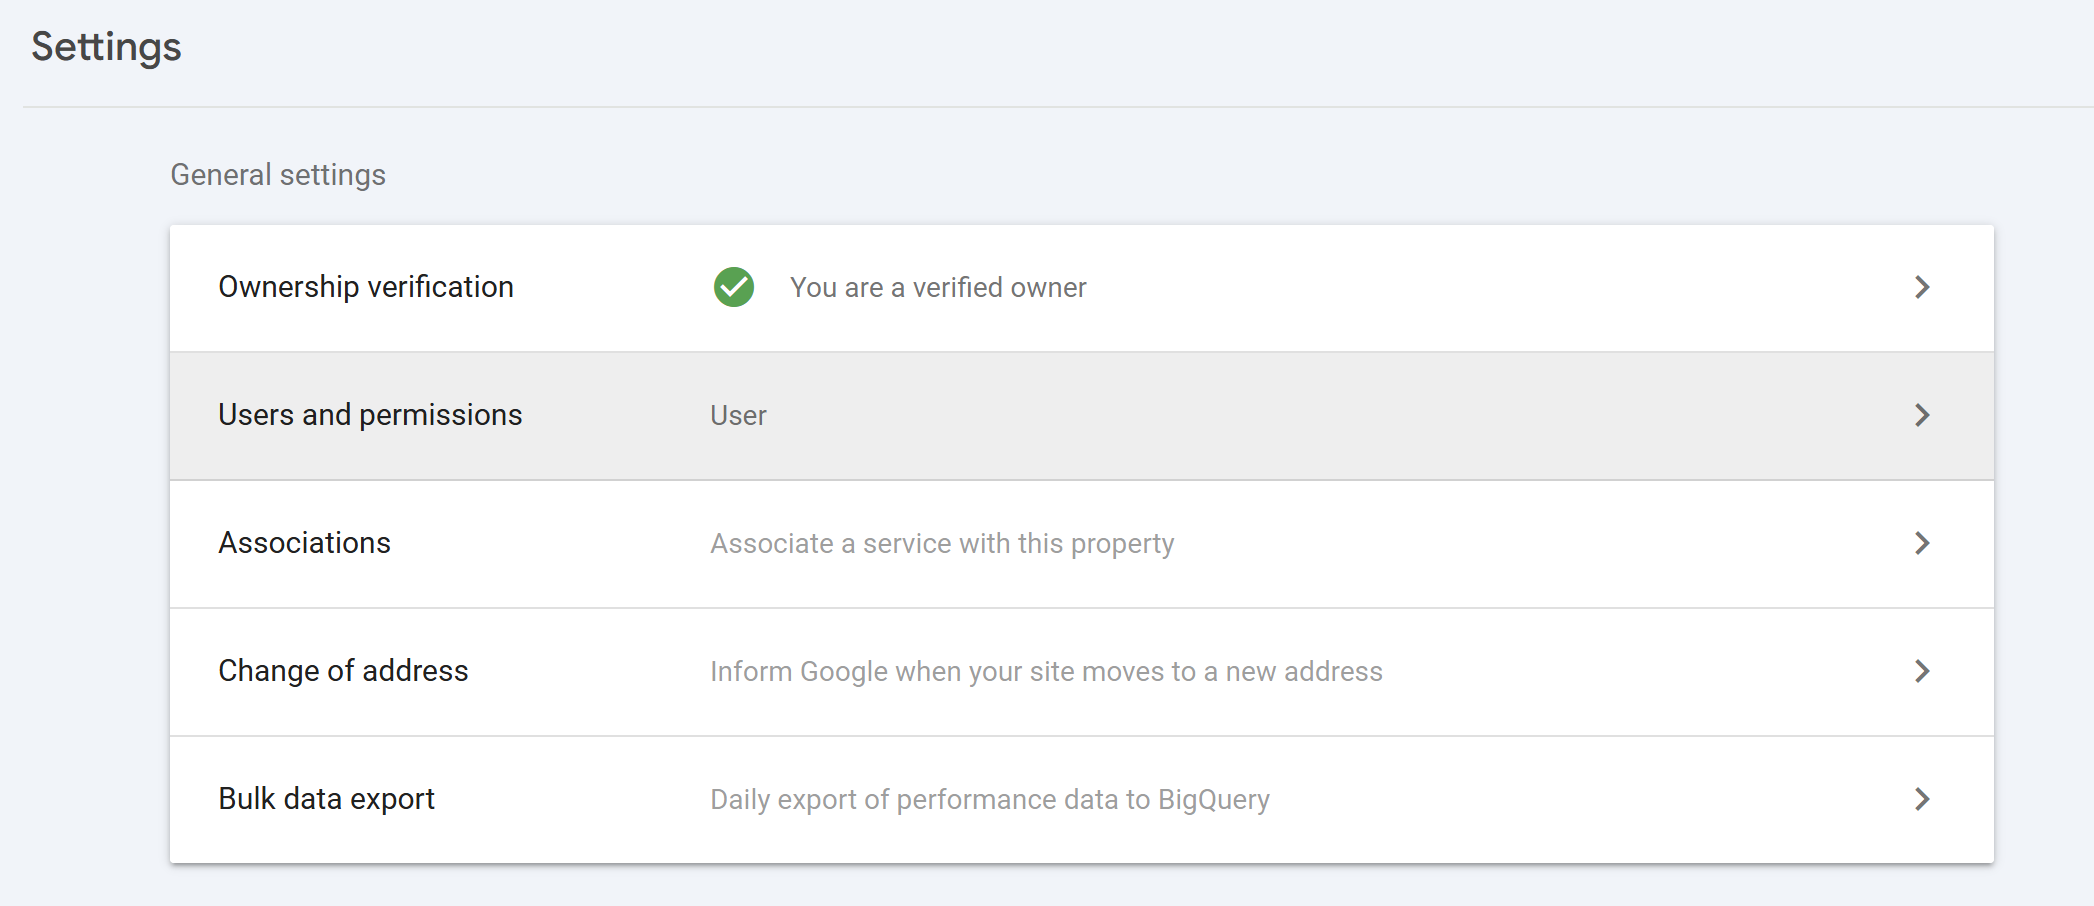
Navigate to "Settings" > "Users and permissions"
-
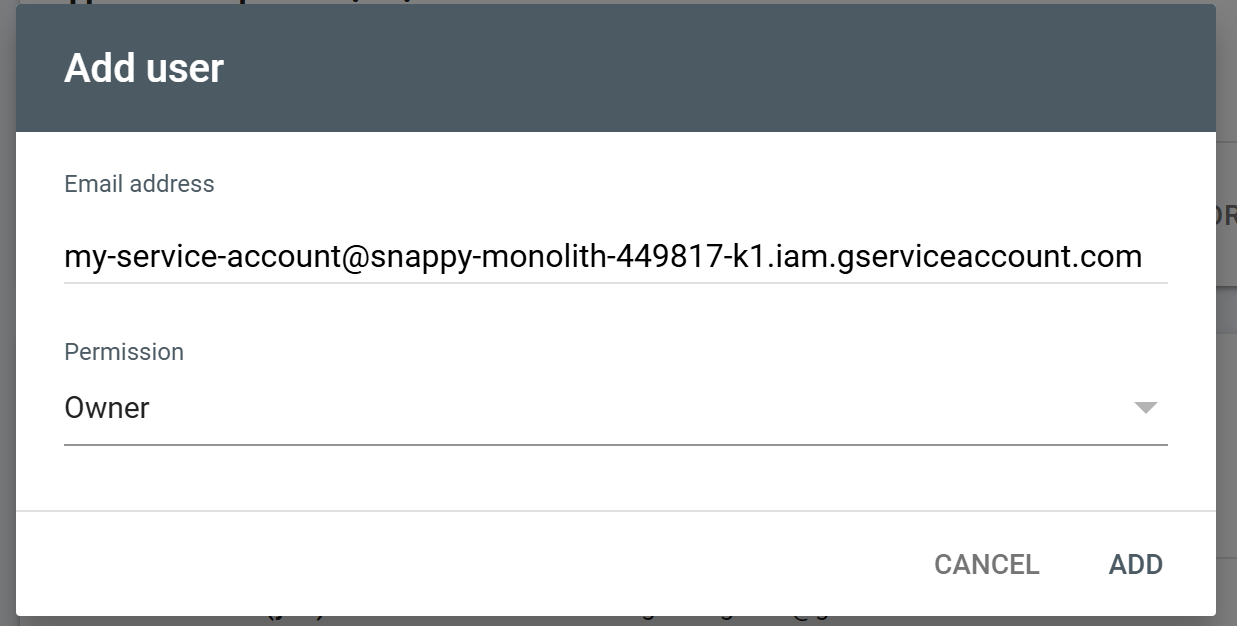
Click "Add User"
Enter the email from your service account (found in the JSON file)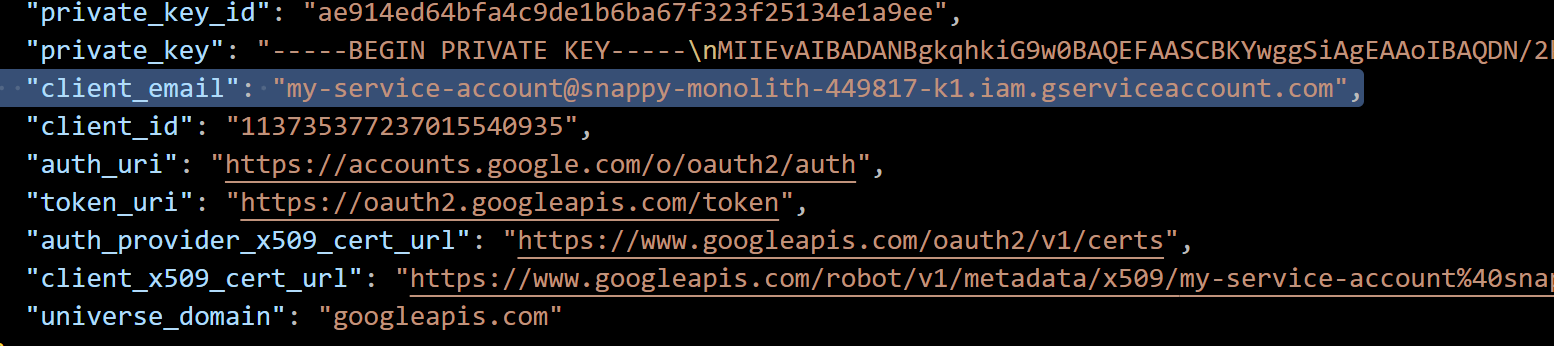
Set permission to "Owner" and click on add
Step 3: Add the JSON file to your Better Search Console account
- Log in to Better Search Console with the same Google account as Google Search Console
- Select the same website as before

- Go to Setting
- Click on service account button and add the JSON file
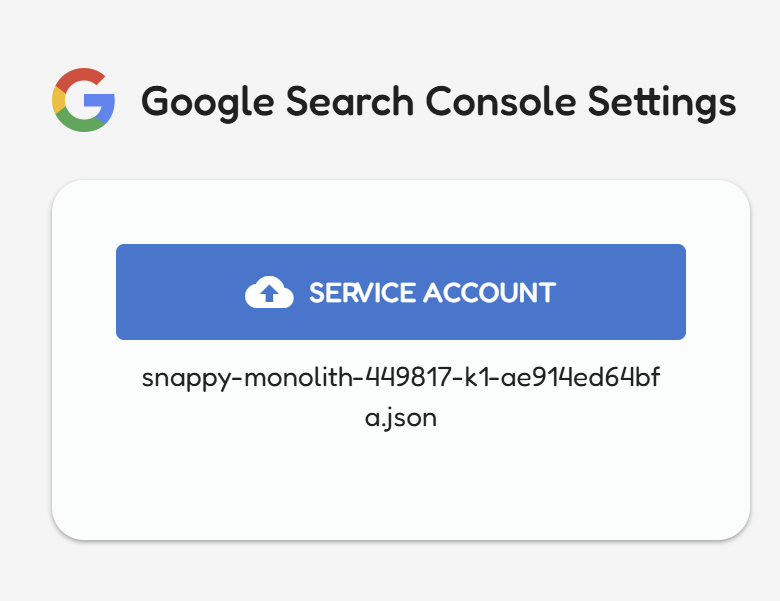
- Click on save, and index your pages!